 |
|
 |
|
 |
|
 |
|
|
|
|
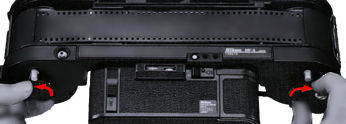
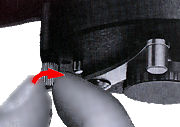
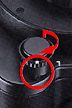
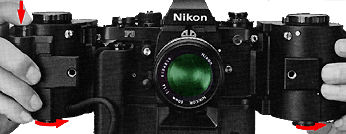
| 10. Turn the rear cover support pin knob clockwise until it stops. | 11.Close the cover. Push the cover down forcefully until it clicks. |
 |
|
 |
 |
|
 |
|
 |
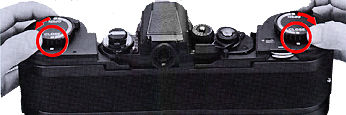
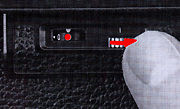
15. Make five (5) blank exposures
By depressing the shutter release button on the magazine back, make five blank exposures. While making blank exposures, make sure that the white dots on the cassette spindle knobs rotate in the same direction (toward the takeup side). This indicates that the film is being transported correctly. |
Notes:
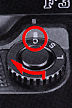
1) When you make blank exposures with the motor drive's S-C mode selector at the
"C" position, be careful not to waste film by making too many blank exposures.
2) You are advised to set the camera's shutter speed diaI manually to a high shutter speed for making the blank exposures rapidly. If the shutter speed dial is set at the 'A" position and the blank exposures are made with the lens cap on, the shutter will stay open for a long time as soon as the camera's frame counter reads "1".
3) The camera's film advance lever Cannot be used to advance the film when the magazine back is mounted on the camera
|
| | | Back to Index of Nikon F3 Models Back to Pictorial History of Nikon SLRs |
|
|||||
|
|||||||
| Back to Index Page | of
Instruction Manual of 250 Bulk Film Backs
| Back to Main Index
Page | of Film Backs for
Nikon F3
| Back to Nikon F3 Site |
| About this photographic site | Contributions and Credits |
 |
Home - Photography in Malaysia |